

1_page-0001")
By Nikki Kim
Liver’ng it up: The power of dehydrated liver treats for pets
For dog owners, liver treats are a timeless favourite that never fails to get tails wagging, but did you know they offer more than just irresistible flavour?
Liver treats are a firm favourite among canine furkids. Open a bag of liver treats and your pet is there faster than a rat up a drainpipe! Over the past two decades, pet owners have become more conscious of choosing healthier, natural treats over heavily processed ones filled with hidden nasty ingredients. Among the options, organ meats, especially liver, have grown in popularity. This is no surprise, as the aroma of liver treats is irresistible, like the scent of Bovril. It’s one of the most pleasant, natural-smelling treats on the market and dogs absolutely love them!

Not only do liver treats smell and taste great, but they’re also packed with nutrition. Liver is rich in essential vitamins and minerals, as well as protein and fatty acids. It’s one of the richest food sources of vitamin A and a great source of B vitamins. In fact, chicken, beef, pork and lamb liver all contain all eight of the B vitamins. The mineral content is impressive too, with high levels of iron, copper, phosphorus, selenium and zinc. With all these nutrients, liver is a powerhouse of health; who needs supplements, right?
However, while liver is highly nutritious, it’s important to exercise caution. As the saying goes, “Too much of a good thing can be bad.” The vitamin A in liver is fat soluble, meaning it can accumulate in the liver over time if consumed in excess, potentially leading to liver toxicity (known as hypervitaminosis). Additionally, because liver is dehydrated, its nutrients are concentrated. For example, 100g of raw liver will yield just 30g of dried liver treat, so the same portion size could have a more potent effect on smaller dogs. This can cause tummy upsets if not fed in moderation.
That said, liver treats can be a great supplement to your pet’s diet when given in the right amounts.
Always follow the feeding guidelines provided by your preferred pet treat company, which will account for your furkid’s age, size and calorie needs. As a general rule, treats should make up no more than 10% of your dog’s daily calorie intake, based on their optimal body weight. If you’re unsure, consult your vet for guidance.
SIDEBAR:
Liver treats can be used in a variety of fun and creative ways to keep your dog engaged while still offering the nutritional benefits. Here are a few ideas:
- Use small pieces of dehydrated liver for training sessions. The smaller the dog, the smaller the pieces!
- For puppies, sprinkle a tiny bit of liver powder over their kibble to entice them without overdoing it.
- Hide small liver treats in a puzzle toy or treat ball to engage your dog’s mind.
- If your furkid is picky, sprinkle liver powder on their food to boost flavour.
- Combine liver powder with plain yogurt and spread it over a lick mat for a delicious treat.
- Use liver treats for special occasions, like birthdays or Christmas stocking, or bake them into biscuits and cakes.
With liver treats, moderation is key. While they’re a nutritional powerhouse, too much of a good thing can lead to health issues. So, enjoy liver treats in moderation, get creative with their use and always be mindful of portion sizes. Your pet will thank you for it!
1_page-0001")
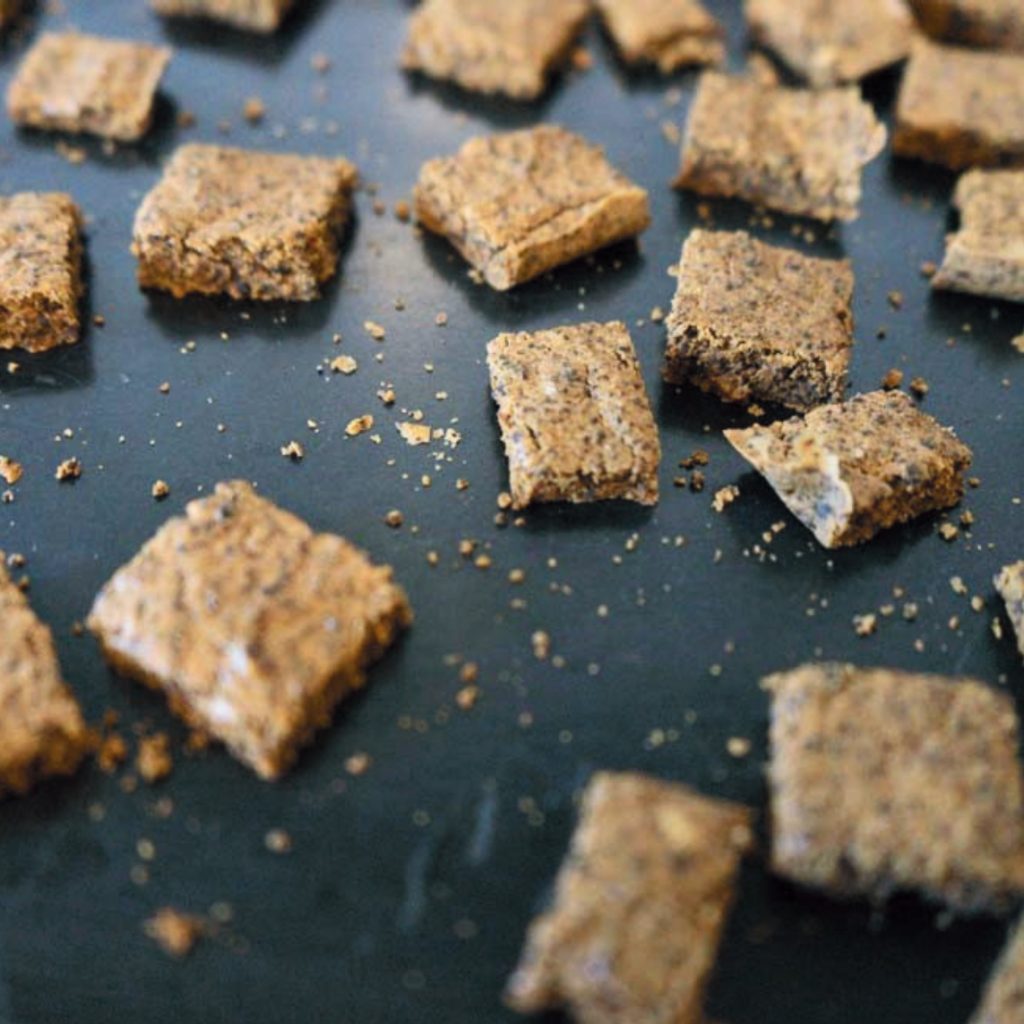
Ingredients
- • 70g oatmeal flour
- • 50g dehydrated liver sprinkles
- • 1 large egg
- • 100ml water
- • 1 tablespoon olive oil
Instructions
- Preheat the oven to 160°C and line a 25cm x 18cm rectangular baking sheet (or a 20cm x 20cm square dish, or a similar size) with parchment paper. Grease the parchment paper with olive oil.
- In a medium-sized bowl, combine the oatmeal flour and liver sprinkles.
- In a small bowl, beat the egg and olive oil together, then add the water and mix until well combined.
- Pour the liquid mixture into the dry ingredients and stir with a spatula until the mixture is fully blended.
- Pour the batter into the prepared baking dish, spreading it evenly to about 0.5cm thickness.
- Bake for 20 minutes, then remove from the oven. Use a butter knife to gently score the batter into criss-cross gridlines, forming 2cm x 2cm squares. Let it cool for 5 minutes, then gently break the squares apart and spread them out onto a larger baking sheet.
- Return the sheet to the oven and bake for an additional 15 minutes, or until the biscuits are firmer.
Notes
For smaller treats, cut into 1cm x 1cm or 0.5cm x 0.5cm squares. For a harder, rusk-like texture, turn off the oven and leave the biscuits inside until the oven cools completely. Store the biscuits in the fridge for up to a week, or freeze them for up to six months.